Whether you’re a big wine drinker or not, a wine rack is always a handy piece of furniture to have around the house. Maybe it’s full of vintage selections sourced from exotic locations around the world or just a few favourite tipples from your local bottle shop, a wine rack is a stylish accessory perfect for entertaining and looks great whether it’s full or empty.
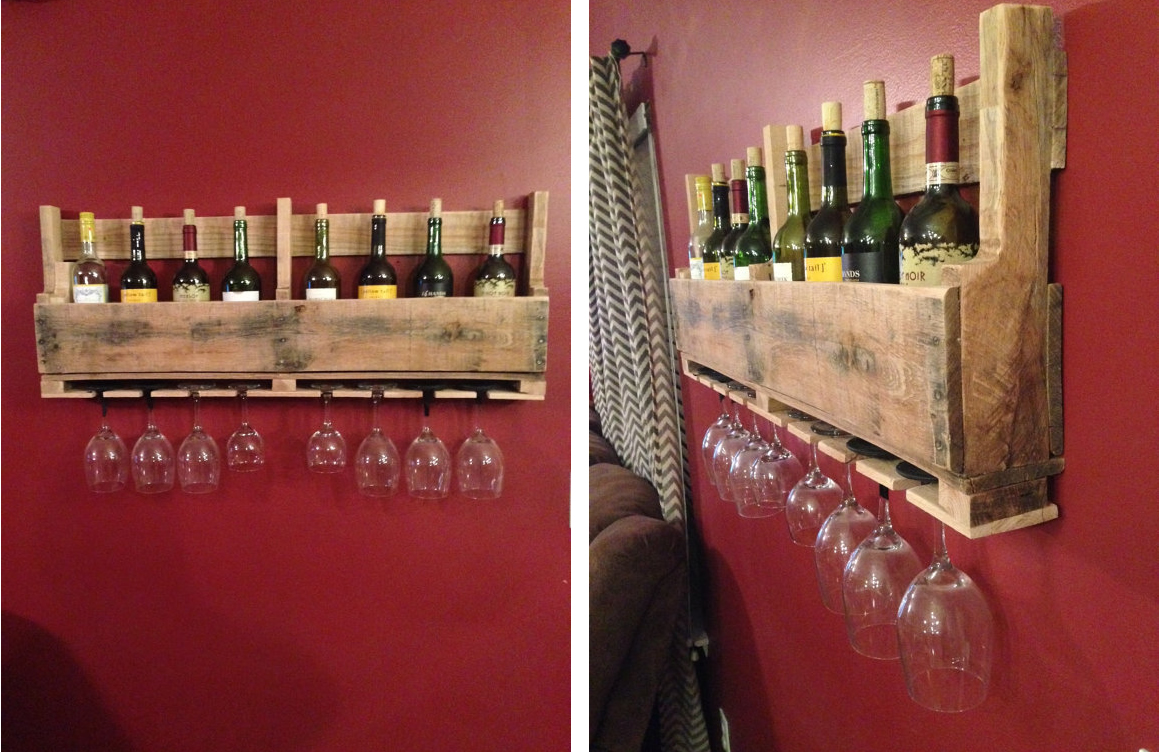
 Image: palletfurnitureonline
For this wine rack, we have used pallets to construct a wall-mounted unit that also includes a place for storing wine glasses. Depending on the tools you use (hand tools versus power tools) this can be constructed in around an hour and a half to two hours, making it a quick and easy bang-up that can be ready in time for your weekend dinner party.

Materials:
- 1X pallet
- Sandpaper
- Screws or nails
Tools:
- Band saw/circular saw/hand saw
- Drill press/hand drill
- Hammer
- Pry bar
- Spirit level
Topics in this article:
Step 1- Cutting the pallet
Use a circular saw or hand saw to cut off the bottom section of the pallet (as below). The height of the wine rack will be roughly 40 to 43cm tall depending on where you cut it.

Step 2- Pull off boards
You’ll need two base boards to make up the bottom of your wine rack. You can use the centre of the main pallet to get these boards. Using a hammer and a pry bar, hammer nails in and then pry the boards off. This may take some time and may be frustrating because the ends have a tendency to crack and break, but eventually you’ll get the hang of it.

Step 3- Cutting small pieces
You’ll need three smaller pieces to separate the baseboard that holds the glasses and the base that supports the bottom of your wine bottles. You can get these by using timber from the bigger section of pallet you’re not using in the wine rack. Cut out three 25mm wide pieces to use as the spacers.
Step 4- Sanding
Pallets are usually pretty rough and ready, so before screwing the pieces into place sand the timber down by hand or with a belt sander to make them look better and prevent splinters.
Step 5- Wine glass storage
On one of your base boards, you need to make holes for the wine glasses to hang from. Obviously, depending on the size of your wine glasses, you will need to cut the holes to suit. The depth we made our holes was about 4cm from the edge of the board with each hole spaced about 10cm apart. Make sure you measure and mark out where each hole will be before cutting so they are spaced evenly.
Step 6- Drilling the holes
We used a 1-3/8 inch Forstner Bit on the drill press, but you can use a hand drill if you don’t have one, and drill out your marked holes.

Step 7- Cutting gaps for the glasses
Use a piece of scrap wood around 2.5cm wide, centre it on the holes you’ve cut and use a pencil to mark the spots you need to make the additional cuts for where you’ll slide the glasses onto the rack. Cut the pieces out and then sand down any rough edges.
Step 8- Putting it together
Using the three spacers put the two base boards together and align them with the top bit of the rack to ensure everything lines up well. Clamp them to the table, pre-drill the holes and countersink them. We used 75mm screws to put it all together, but you can use smaller screws and put it together in sections if you’d prefer. Make sure you pre-drill all your holes, either way, to avoid splitting the wood.
At this point you may want to paint or varnish your creation or leave the timber raw and rustic with minimal sanding, depending on your desired wine rack finish.

Step 9- Ready to hang
The wine rack is all done, now you just have to hang it. We used 50mm screws and put them in wall studs to ensure the wall can support the weight of the rack and the additional weight of wine bottles. Also, make sure you use a level before putting in the second screw to make sure it hands straight. Time to enjoy some well deserved wine from your new wine rack!

Key pitfalls of DIY projects
DIY projects are fun, but they have a range of things that can go wrong if you’re not careful. Poorly executed DIY can detract from the end value of your home if you’re not careful, so pay special attention and ensure you get the best from your interiors and landscaping.
Always carry out DIY to the highest standard, otherwise, you may as well bring in a professional.
A couple of key considerations before kicking off any DIY project:
Not everything is for everyone!
Remember, when it comes to home furnishing, building structures and landscaping, everyone has a different idea of what is ‘amazing’. DIY jobs allow you to unleash your personal flare. This is fine if you’re living in your ‘forever home’ but if you’re trying to sell your home and add value, think about what a potential buyer will want, not just you.
Make it well or not at all
DIY projects can sometimes look, well, like they are DIY projects. If you’re spending the time and money on undertaking a big structural or landscaping job, there is no substitute for taking it slow, getting the measurements right and doing the job well. You don’t want to be building a hammock only to have someone lie on it and fall down or build a deck which a prospective buyer puts their foot through.
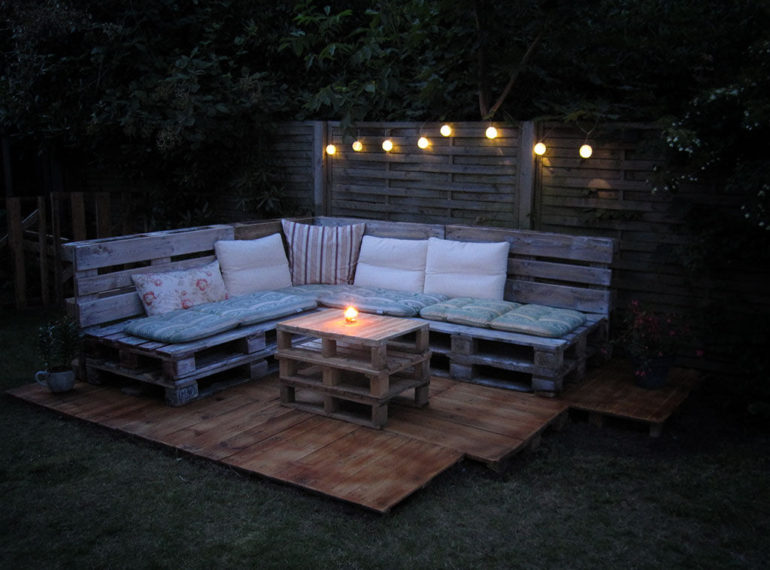
For more home DIY inspo take a look at our blog how to make a pallet lounge, crafty DIY home decor projects and 11 amazing upcycling projects.


