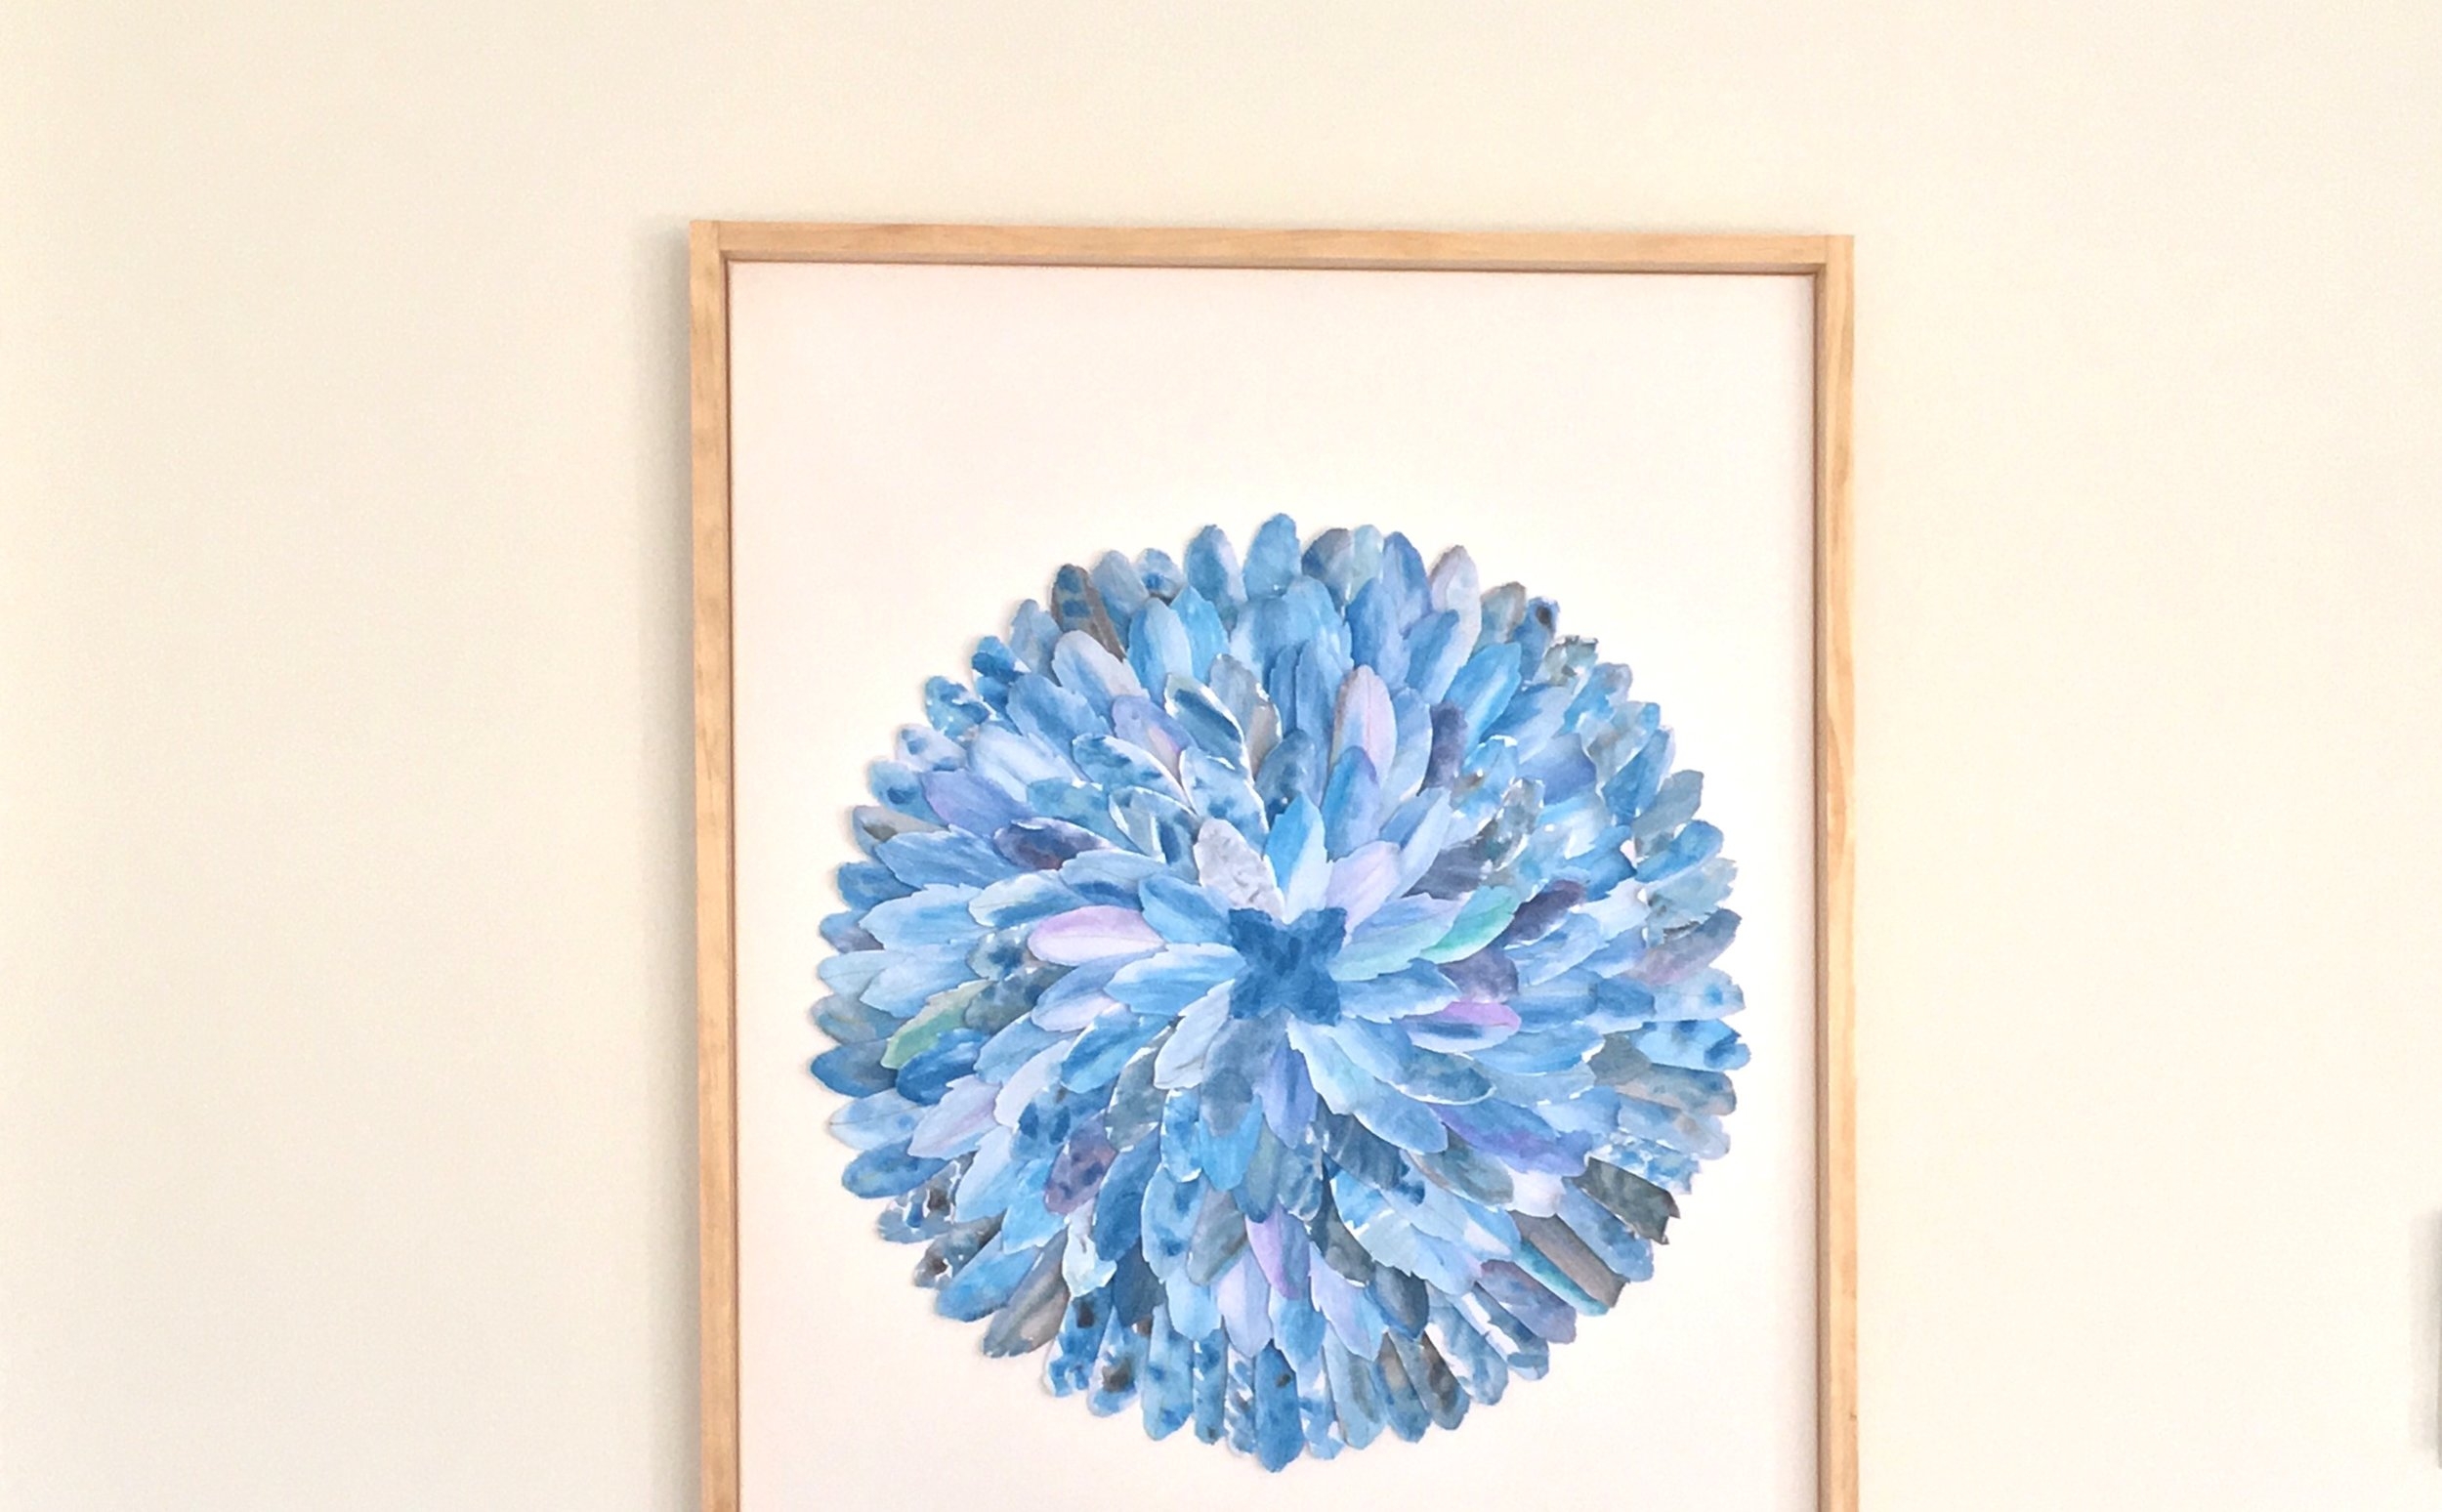
Have you ever seen a beautiful work of art and secretly thought to yourself ‘I could make that!’. Well that’s exactly what I did one weekend and this watercolour paper feather artwork was the result…

Taking inspiration from the rich textures, vibrant colours and intricate layers of African tribal Juju Hats made of dyed feathers, I wanted to make something one of a kind that drew the eye as soon as you stepped into the room.
The Juju Hat shape is now commonly seen adorning walls in contemporary home décor magazines, Pinterest boards and blogs, so there’s no shortage of inspiration out there.

The three best things about making your own artwork are:
- You can choose the exact colours you want to perfectly match or complement your home’s existing décor scheme.
- We can’t all afford the original masterpieces we desire, so undertaking DIY is a considerably more affordable option.
- Let’s face it, creating something from scratch is a lot of fun, not to mention satisfying!
The great thing about this style of art is that it is so versatile and can be made in different colour palates to suit a whole host of interior design styles. It would work perfectly as a showpiece in boho, Scandi, industrial, retro, Hamptons and even modern style interiors.
Here are the materials and steps you’ll need to follow to create your own free-spirited paper feather artwork.
Topics in this article:
You will need:

For the artwork-
Canvas 75×100 cm
Paper
Watercolour paints
PVA glue
A pencil
A gold pen
Cardboard
Paint brushes
Scissors
For the frame-
Timber (I used untreated pine)
Timber varnish
Sandpaper
Nails
Hammer
Picture hanging wire
Wall hooks
How to make the paper feather artwork:
Step 1. First you need to make a feather stencil so all your pieces are relatively uniform in shape. Freehand draw a feather or trace around a printed feather shape (get a template here) onto a piece of cardboard. Then cut out the cardboard feather stencil.
Step 2. Next lightly trace around the cardboard stencil onto your sheets of paper. Then cut around the pencil outline to create a paper feather. Repeat this step until you have approximately 160 paper feathers (depending on how many layers you want in your feather circle, I had five layers in mine).
Timesaving tip: Stack up to three pieces of paper on top of each other so you can cut out multiple feathers at the same time.
Step 3. Now comes the fun part, painting your feathers! I recommend mixing and playing around with the watercolours on a piece of scrap paper before painting the feathers to see what shades work well together and what combinations you like best. Then go ahead and paint your paper feathers.
Step 4. As you go, lay out your painted feathers on pieces of newspaper to dry (this usually takes about 30 to 40 minutes depending on the temperature).
Step 5. Once the paper feathers are completely dry trim their edges into small branches so they resemble the edges of a real-life fluffy feather. This will help to enhance the 3D look of your artwork.
Step 6. Take your gold (or silver) pen and draw a line down the centre of the paper feather to resemble the central shaft (aka rachis) of a real feather.
Step 7. Using a pencil draw a large circle (I traced around a dinner plate) onto the centre of your canvas.
Step 8. Starting with the outer layer use PVA glue to stick the base of your paper feathers around the perimeter of the circle you have drawn, making sure each one overlaps the one before it equally as you go (pictured below). Then repeat this with the second, third and fourth circular layers and so on until the whole circle is filled with feathers.

Note: Allow the glue to dry overnight before hanging your artwork.
How to build the frame:
Step 1. You’ll need to buy some timber to make up your frame. Make sure you measure your canvas carefully so your four pieces of timber are cut to the right size.
Note: If you’re like me and don’t own an electric saw, most hardware stores have a service where they’ll cut the timber you buy there to size for free.
Step 2. Hand sand your pieces of timber (if needed) so they’re nice and smooth and ready to varnish. Apply a coat of clear varnish to the timber to give it a nice sheen and leave it to dry for 24 hours.
Step 3. Place one of the longer pieces of timber along the side of the canvas and nail it to the shorter piece of timber at a right angle. Repeat this step three more times until each side of the canvas is framed.
Now all you need to do is hang and admire your masterpiece.
Happy painting!
The Homely Team


