Starting your own vegetable garden at home is a dream of many homeowners and renters alike.
Think of the cash you could save on groceries and the peace of mind you’ll get from growing your own pesticide free veggies. Not to mention the satisfaction from plucking your own tomatoes off the vine, pulling up carrots and picking leafy greens from the ground. Spring salads don’t get much fresher or tastier than that!
Regardless of the amount of space you have to work with you’ll be surprised by how easy it is to grow your own produce with a little bit of work, healthy soil, the right amount of sunshine and water.
Here are the key things to consider when getting your backyard veggie patch off the ground.

Placement
When choosing a spot for your veggie garden keep in mind that some varieties of vegetables will need six to eight hours of sun a day to be happy. So be sure to select a section of your backyard that gets a fair bit of direct sun throughout the day and sufficient full sun in winter for year round crops. A north or north-easterly aspect works best.
To protect your patch from frosty winds and heavy rain also consider a spot that supplies your plants a bit of shelter that isn’t on sloping ground. You don’t want water and nutritious mulch blowing or running off in rain nor for it to be too exposed to the elements. So consider level spots near a fence, garden wall, shrubs or starting a raised garden bed.
 For sale: 1 Perrett Street, Brunswick West, VIC
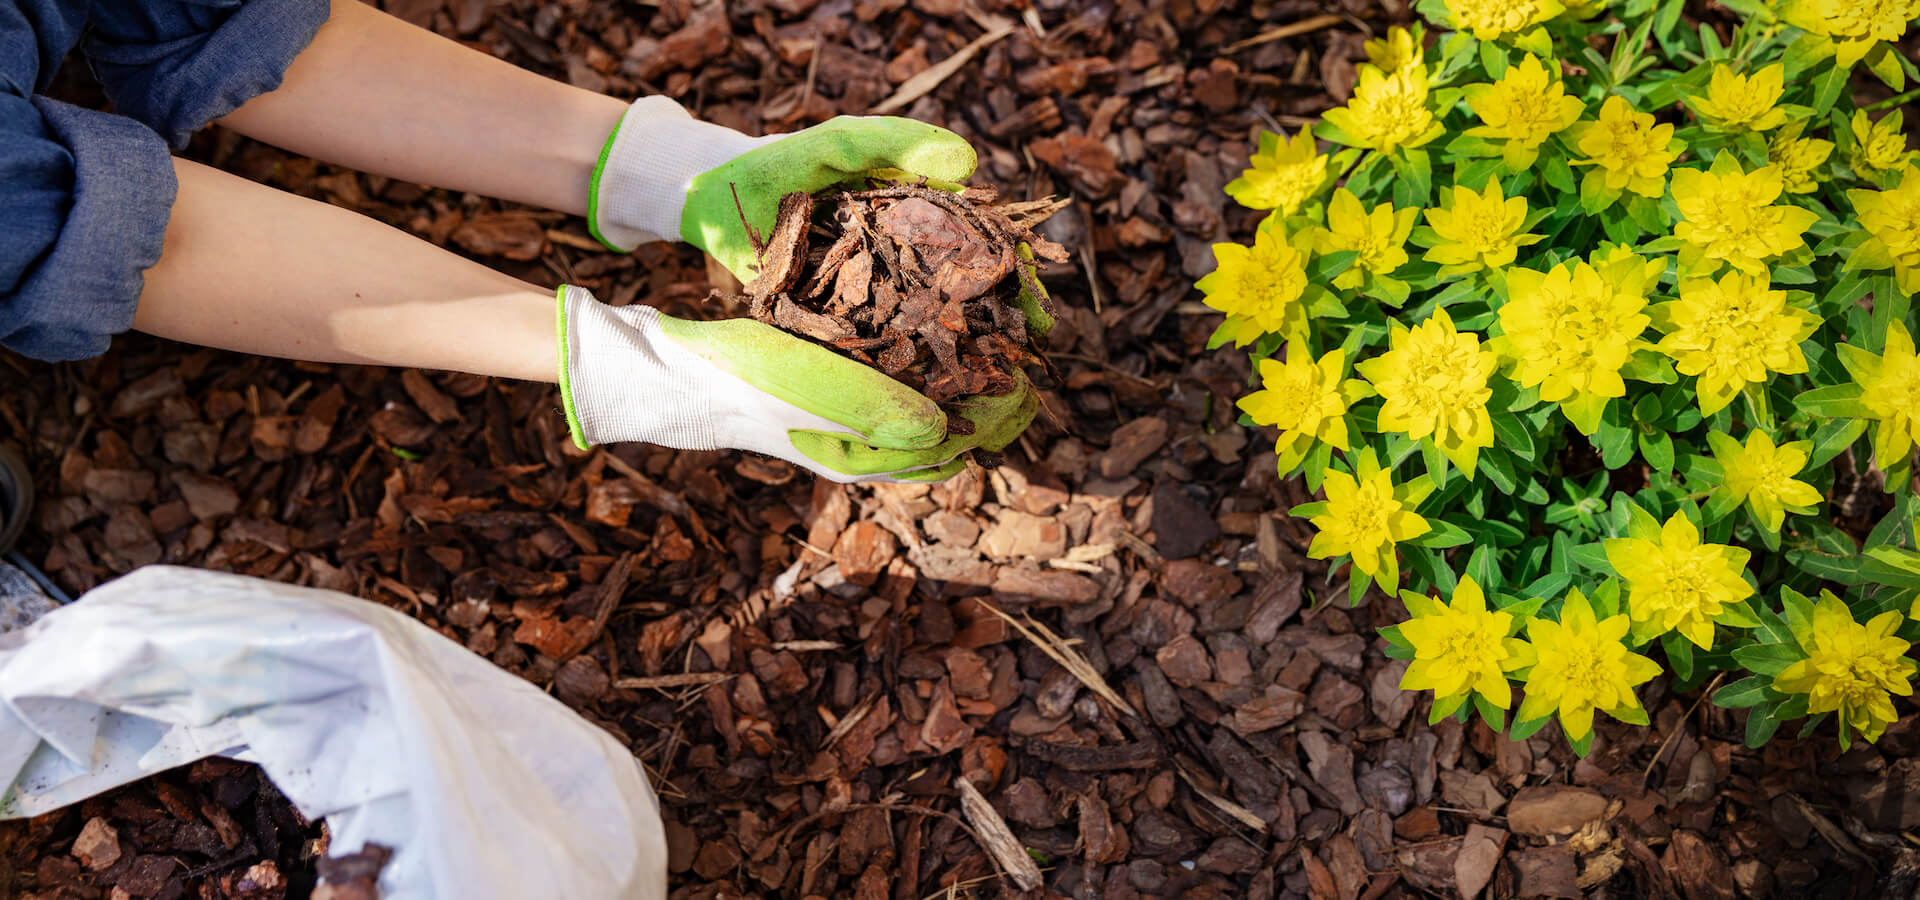
Soil prep
First things first, you’ll need to remove any weeds, grass, existing plants and root systems from the section of soil you’ve selected for your plot, as you don’t want these things competing for nutrients and moisture with your veggie plants. Next you need to dig, lift and turn the soil.
Once you’ve cultivated the whole bed, It’s a good idea to test the quality of the soil before planting to know whether you need to add anything to help the veggies along. Check drainage by soaking the garden bed with the hose and waiting a day. Dig up a handful of soil, if it is still very wet, dry and sandy, or hard, you’ll probably want to add some organic matter (i.e. manure, fertiliser or compost) to improve drainage, structure and add nutrients.
After adding organic material into the mix and turning the soil again, allow it to sit for a few days keeping it well watered and weed free to allow the compost to break down. That way your soil will be brimming with nutrients and primed for planting.
Consider constructing a raised garden bed to save yourself from lots of digging, and to provide good fertile soil depth (at least 45cm) and superior drainage for your plants. Plus, having raised planter boxes will save your back from having to bend over come weeding and harvest time.

Popular materials to consider building a raised garden bed out of include timber sleepers, corrugated iron and cinder blocks or bricks. For minimal construction effort, pre-made garden beds and kits can be found at your local hardware stores.
Planting
When it comes to planting add in a surface mulch of 80mm or so (such as compost, pea straw, sugar cane or lucerne mulches) on the top of your prepared soil. This helps to keep weeds at bay, keep moisture in, protect soil from rain compaction, help control temperature and also will feed the soil as it gradually breaks down.
Now you’re all set to bring in the seedlings and seeds. For beginners and black thumbs some of the easiest and hardiest vegetables to grow yourself include:
- Lettuces
- Tomatoes
- Cucumbers
- Carrots
- Green beans
- Zucchini
- Spring onions
- Herbs
- Silverbeet
- Radishes
- Beetroot
When deciding where you plant each seedling or seed in your garden bed consider height stacking (i.e. put higher plants at the back to maximise sun exposure), access (some plants you can harvest several times a season and need more access to than those that harvest just once a season) and companion planting (i.e. plant tomatoes next to basil to enhance their flavour and naturally repel pests. Keep onions and garlic separate to legumes).

Maintenance
As a general rule of thumb your veggie plants need a good drink whenever the top inch of soil is dry. This typically amounts to watering once or twice a week for in-ground plants and every second day for planter boxes and pots that drain more quickly. You may need to water daily in extremely hot weather and only once every couple of weeks in winter.
If your plants aren’t flourishing as much as you’d hoped, consider feeding them every one to two weeks with a liquid fertiliser (such as Maxicrop or Seasol or Powerfeed) to give them a nutrient boost.
With these simple gardening tips you’ll be enjoying the home grown fruits and vegetables of your labour in next to no time.
If you live in an inner-city apartment that lacks outdoor space look into vertical gardens and planter boxes that work well on balconies for growing herbs and climbing veggies (like beans, sugarsnap peas and cherry tomatoes).
 For sale: 16/460 Elizabeth Street, Surry Hills, NSW
Alternatively head to your local community garden where you can typically pay a monthly membership fee for your own plot where you can grow your own veggies at the same time as getting to know people from your local area.
Community garden locations in Brisbane
Community garden locations in Melbourne
Community garden locations in Sydney
Happy gardening!
From the Homely Team